
Making gluten free biscuits from scratch can sometimes be tricky. They often end up dry, flat, or crumbly instead of soft and flaky.
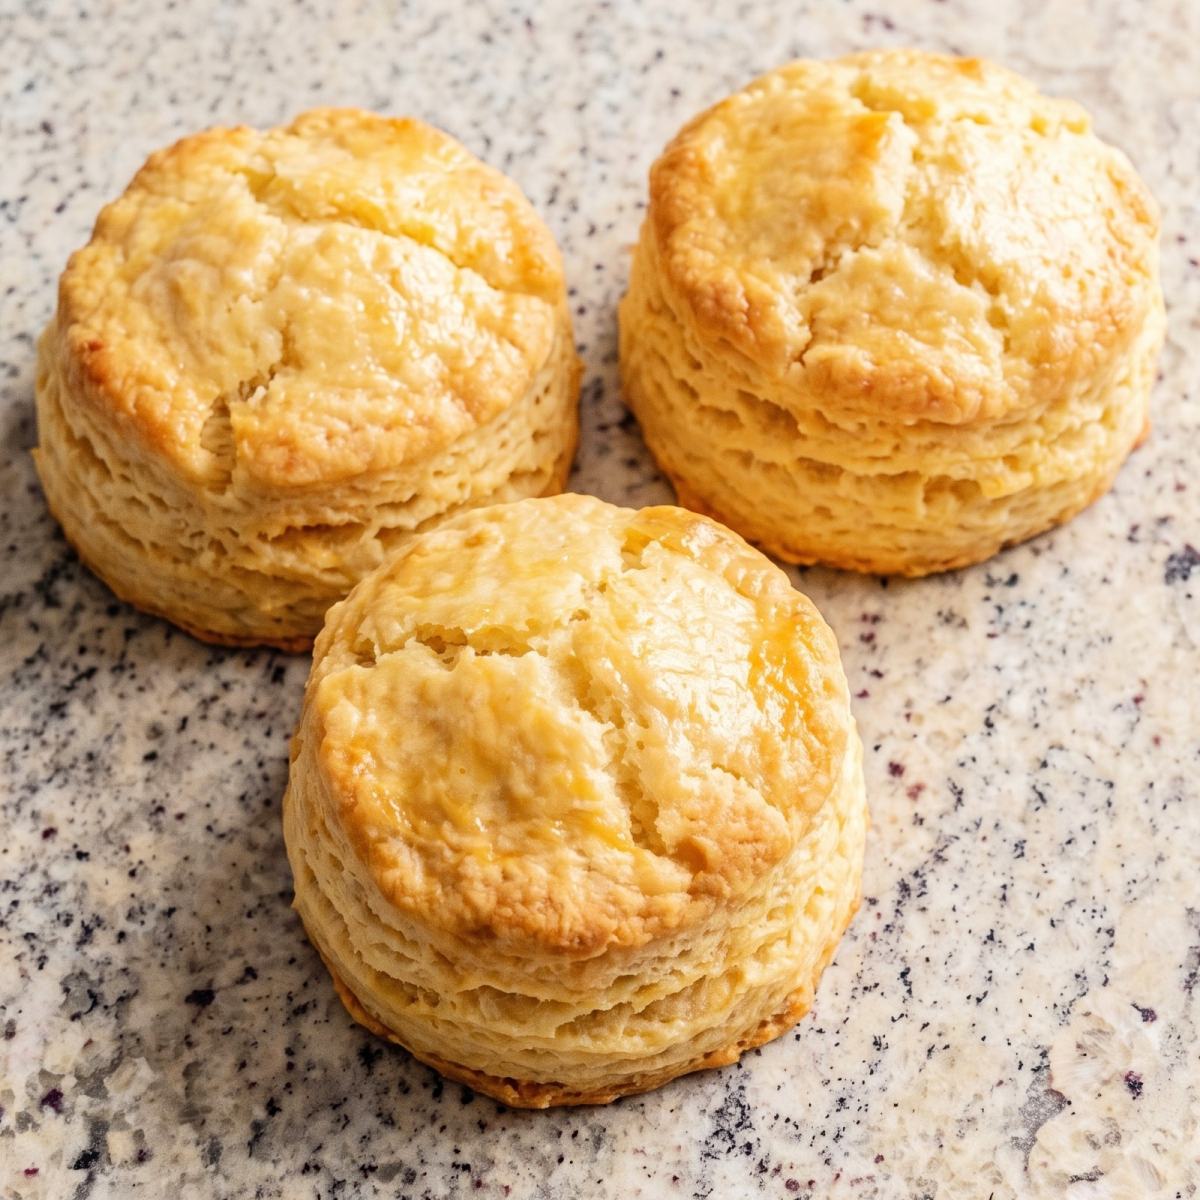
That is why I love adding blended cottage cheese to this dough. It gives these gluten free cottage cheese fluffy biscuits the moisture and structure they need to rise high in the oven.
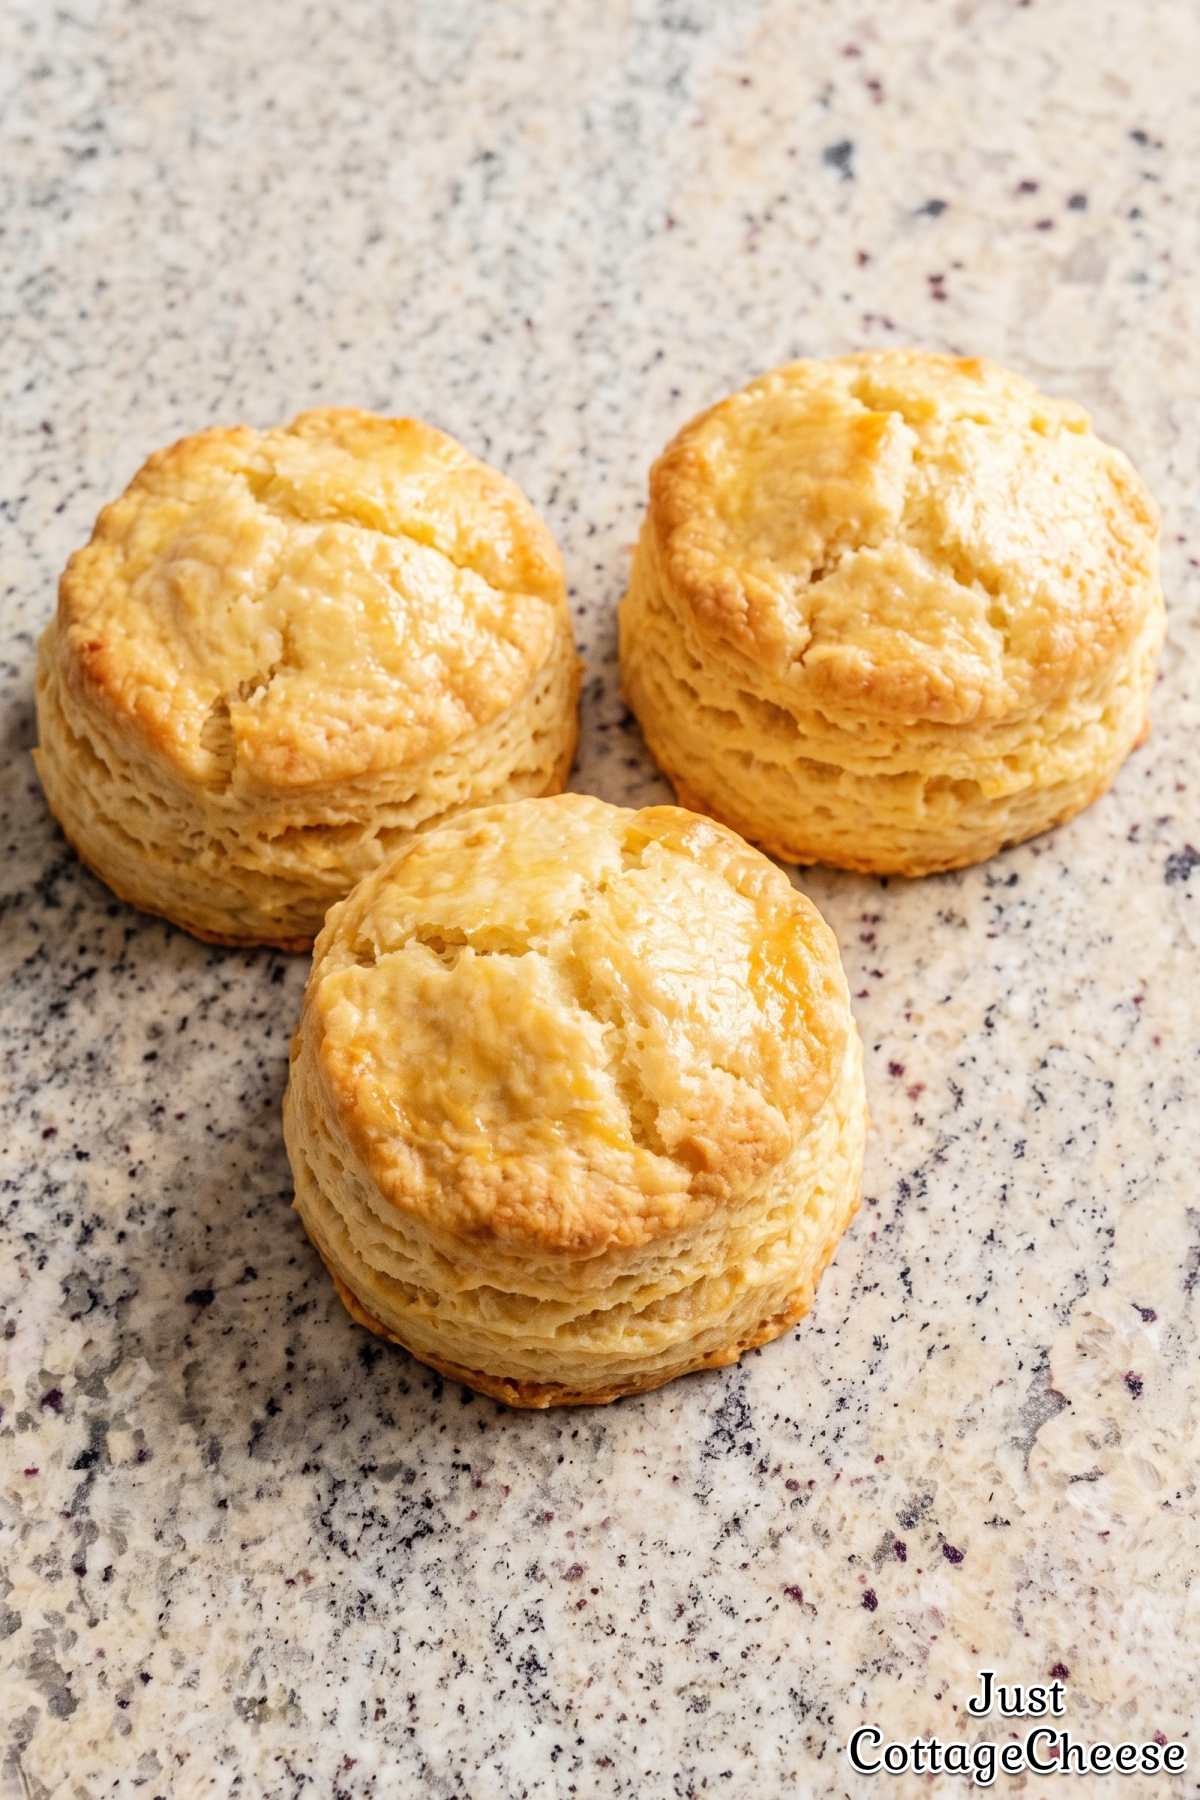
The cottage cheese completely blends away, so you will not taste chunks of cheese or anything unusual. You just get an incredibly soft and tender texture in every bite.
You only need a few simple pantry staples and a box grater to make them. The cold grated butter creates gorgeous, flaky layers just like classic bakery biscuits.
Serve these warm with a dab of butter or a spoonful of your favorite jam. I know you will enjoy making them as much as I do!
Why I Love This Recipe
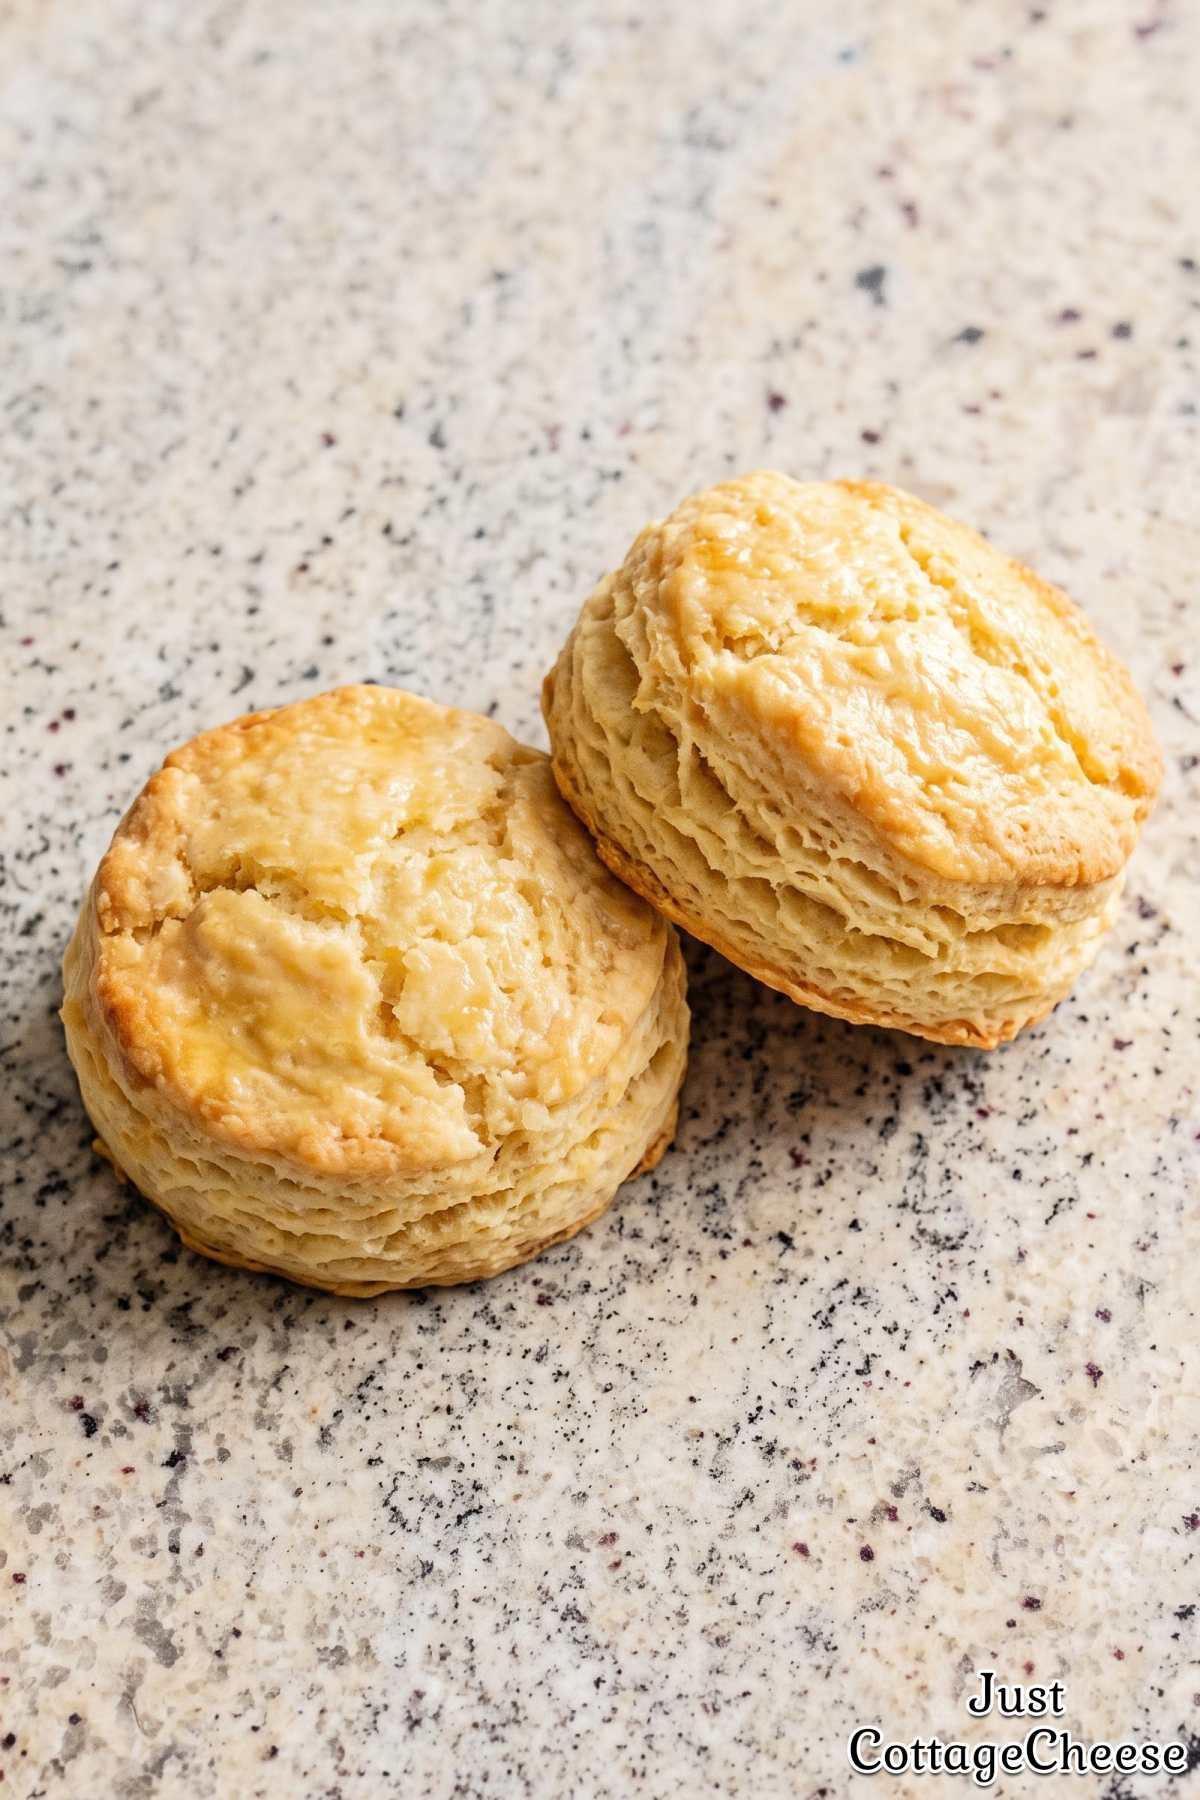
Incredible Fluffy Texture – Blending cottage cheese into the dough helps these rise extra tall and stay soft instead of crumbly.
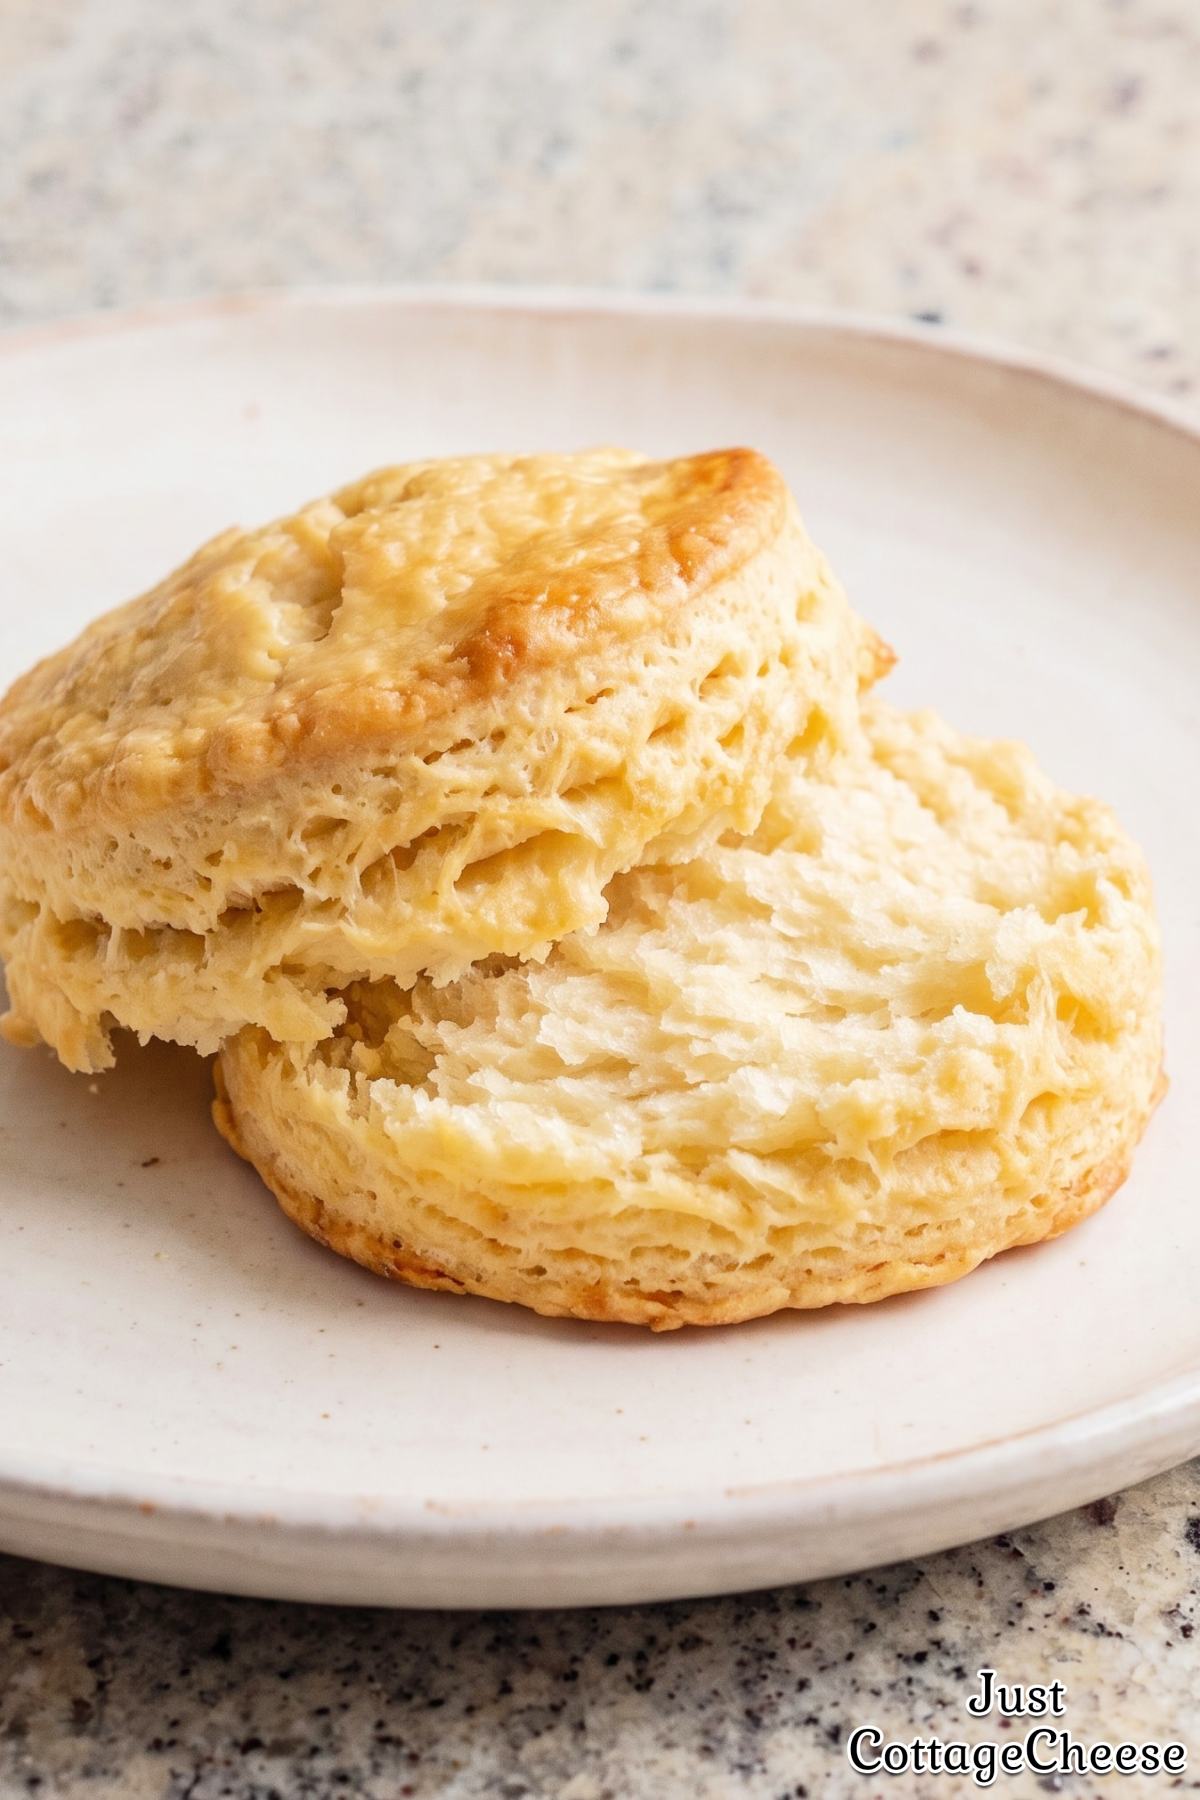
Rich Buttery Flakes – Grating frozen butter directly into the flour creates tender, flaky layers in every single bite.
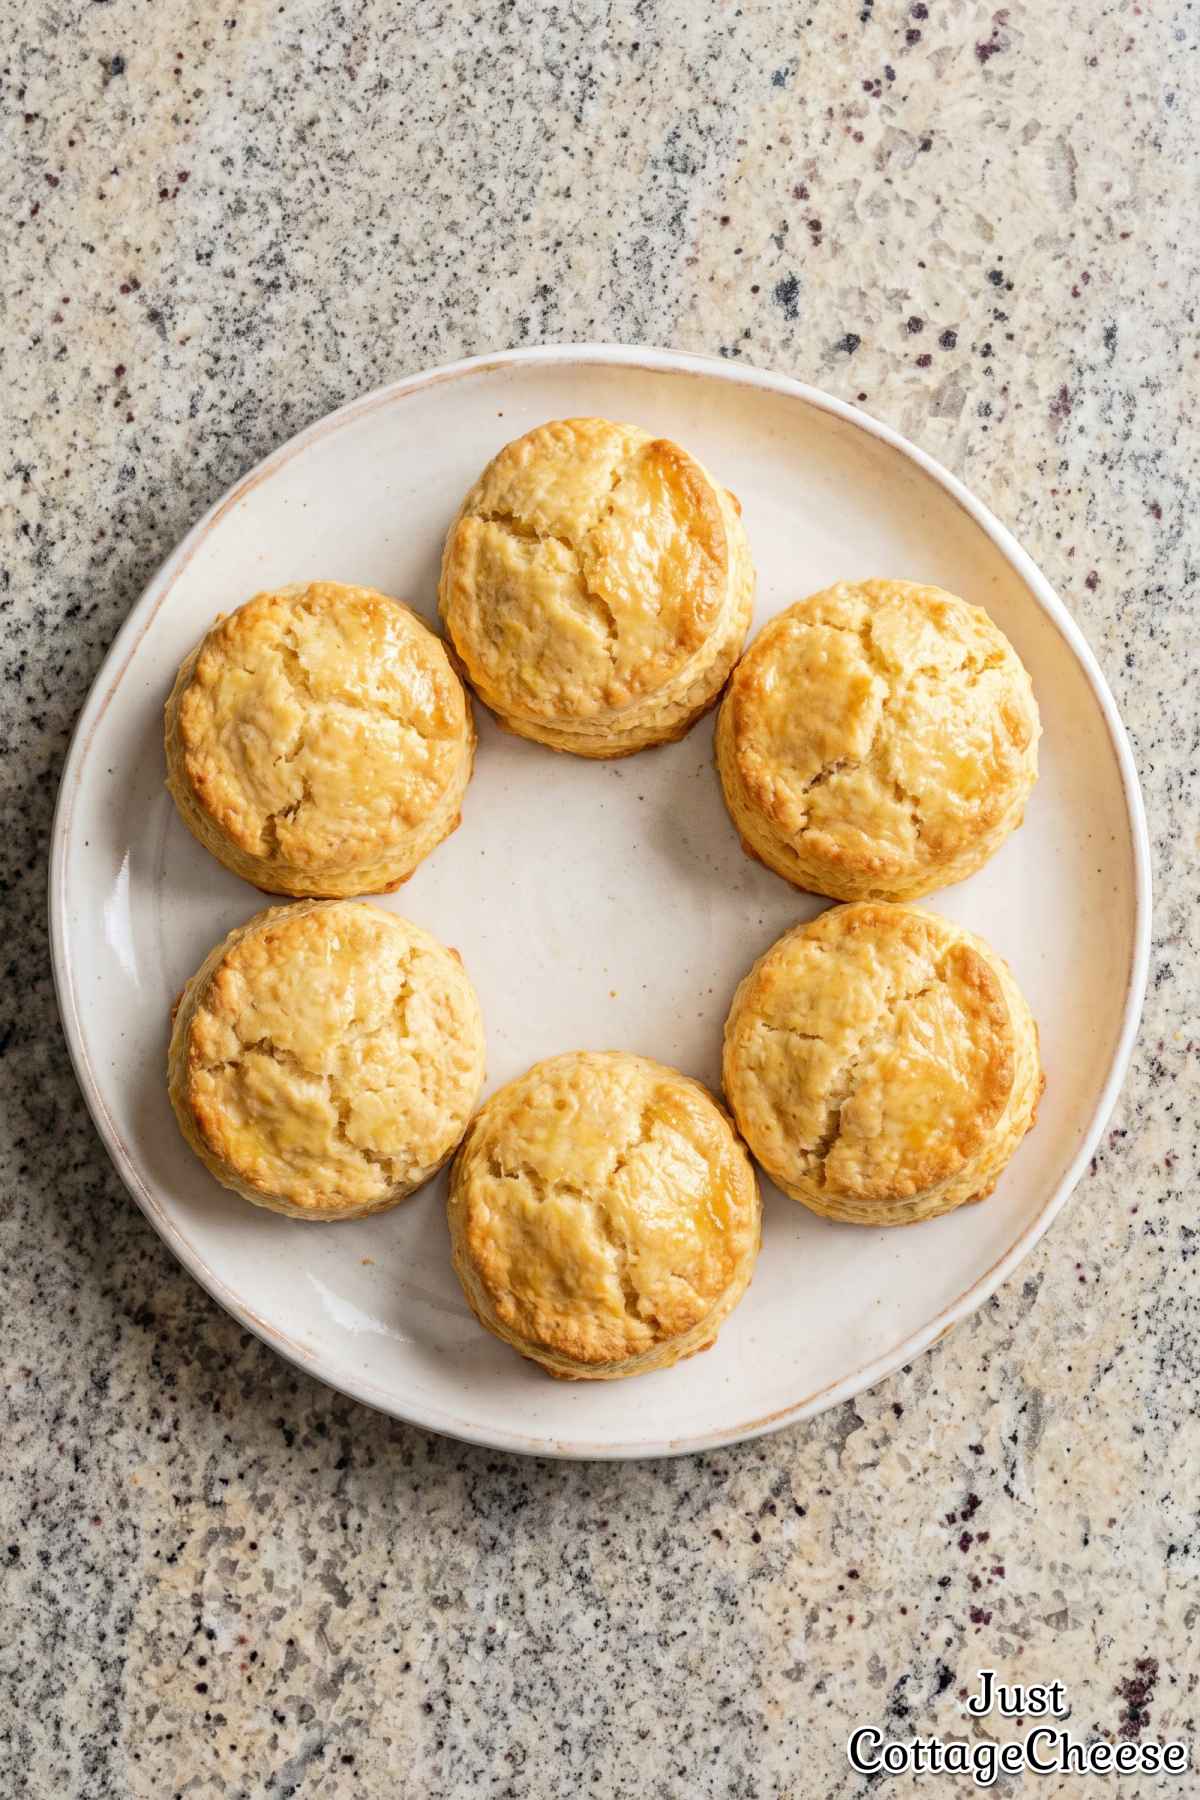
No Gritty Aftertaste – The quick chill lets the gluten free flour fully hydrate so the biscuits stay remarkably smooth.
Super Easy to Shape – Using parchment paper to fold the dough keeps the process clean, quick, and completely foolproof.
The Ingredients
- 2 1/2 cups Gluten Free 1:1 Baking Flour (With Xanthan Gum)
- 1 tbsp Baking Powder
- 1/2 tsp Baking Soda
- 1 tbsp Sugar
- 1 tsp Salt
- 1/2 cup Unsalted Butter, Frozen
- 1 1/4 cups Full Fat Cottage Cheese
- 1 Large Egg
- 2-4 tbsp Cold Milk
- 2 tbsp Unsalted Butter, Melted
How to Make This Recipe
Step 1
Blend the cottage cheese and egg until completely smooth. The protein in the cottage cheese and egg gives gluten free dough the structure it needs, so the biscuits rise tall and stay tender instead of gritty.
Step 2
Whisk the gluten free flour, baking powder, baking soda, sugar and salt in a large bowl. Grate the frozen butter into the flour on the large holes of a box grater and toss to coat.
Step 3
Pour in the cottage cheese mixture and stir with a fork until a soft dough forms, adding milk 1 tablespoon at a time only if it looks dry. Cover the bowl and refrigerate for 10 minutes so the flour fully hydrates, and preheat the oven to 425°F.
Step 4
Turn the dough onto a sheet of parchment dusted with gluten free flour and pat it into a rectangle about 1 inch thick. Use the parchment to lift and fold the dough in half, pat it out again and repeat once more.
Step 5
Pat the dough to 1 inch thick and cut out 2 1/2-inch rounds, pressing straight down without twisting. Place them on a parchment-lined baking sheet so they touch, which helps them rise up instead of out.
Step 6
Bake for 16-20 minutes, until tall and golden brown. Brush the tops with melted butter right away and let them cool for 5 minutes before serving.
Quick Tips
Blend the Cottage Cheese Until Completely Smooth
You’ll get the best results if you blend the cottage cheese and egg until no tiny white curds remain. The mixture should look just like a smooth, thick cream before you pour it into the dry ingredients.
If you leave whole curds in the mix, they will melt into wet, soggy pockets during baking instead of giving the biscuits an even, tender crumb.
Keep Tossing the Butter as You Grate
My favorite trick here is to toss the grated butter shreds into the flour mixture after every few swipes on the box grater.
This coats each piece of cold butter with flour right away so the shreds do not stick together into a big clump.
Keeping those butter pieces separate is what creates distinct, flaky layers all throughout the biscuit while it bakes.
Do Not Skip the Ten-Minute Chill
Gluten free flour absorbs liquid much slower than regular wheat flour.
Giving the dough ten minutes to rest in the fridge gives the flour enough time to soak up the wet ingredients, which prevents your biscuits from tasting gritty or sandy.
I’ve found that this quick chill also keeps the butter firm and cold, which makes the soft dough much easier to shape.
More Favorites
- Cottage Cheese Cheddar Jalapeno Bread
- Cottage Cheese Cranberry Orange Scones
- Cottage Cheese Garlic Parmesan Pull-Apart Bread
- Cottage Cheese Herb Focaccia
- Cottage Cheese Protein Flatbread
Quick Answers
Can low-fat cottage cheese be used instead of full-fat?
You can use it in a pinch, but full-fat cottage cheese gives the best texture because the extra milk fat keeps gluten-free flour tender.
Lower-fat varieties contain more water, which can make your dough overly sticky and result in a gummy center after baking.
Gluten Free Cottage Cheese Fluffy Biscuits
Ingredients
- 2 1/2 cups Gluten Free 1:1 Baking Flour (With Xanthan Gum)
- 1 tbsp Baking Powder
- 1/2 tsp Baking Soda
- 1 tbsp Sugar
- 1 tsp Salt
- 1/2 cup Unsalted Butter, Frozen
- 1 1/4 cups Full Fat Cottage Cheese
- 1 Large Egg
- 2-4 tbsp Cold Milk
- 2 tbsp Unsalted Butter, Melted
Equipment
- blender
- box grater
- biscuit cutter
Instructions
- Blend the cottage cheese and egg until completely smooth. The protein in the cottage cheese and egg gives gluten free dough the structure it needs, so the biscuits rise tall and stay tender instead of gritty.
- Whisk the gluten free flour, baking powder, baking soda, sugar and salt in a large bowl. Grate the frozen butter into the flour on the large holes of a box grater and toss to coat.
- Pour in the cottage cheese mixture and stir with a fork until a soft dough forms, adding milk 1 tablespoon at a time only if it looks dry. Cover the bowl and refrigerate for 10 minutes so the flour fully hydrates, and preheat the oven to 425°F.
- Turn the dough onto a sheet of parchment dusted with gluten free flour and pat it into a rectangle about 1 inch thick. Use the parchment to lift and fold the dough in half, pat it out again and repeat once more.
- Pat the dough to 1 inch thick and cut out 2 1/2-inch rounds, pressing straight down without twisting. Place them on a parchment-lined baking sheet so they touch, which helps them rise up instead of out.
- Bake for 16-20 minutes, until tall and golden brown. Brush the tops with melted butter right away and let them cool for 5 minutes before serving.